Note: All of the following options are set using the Console UI
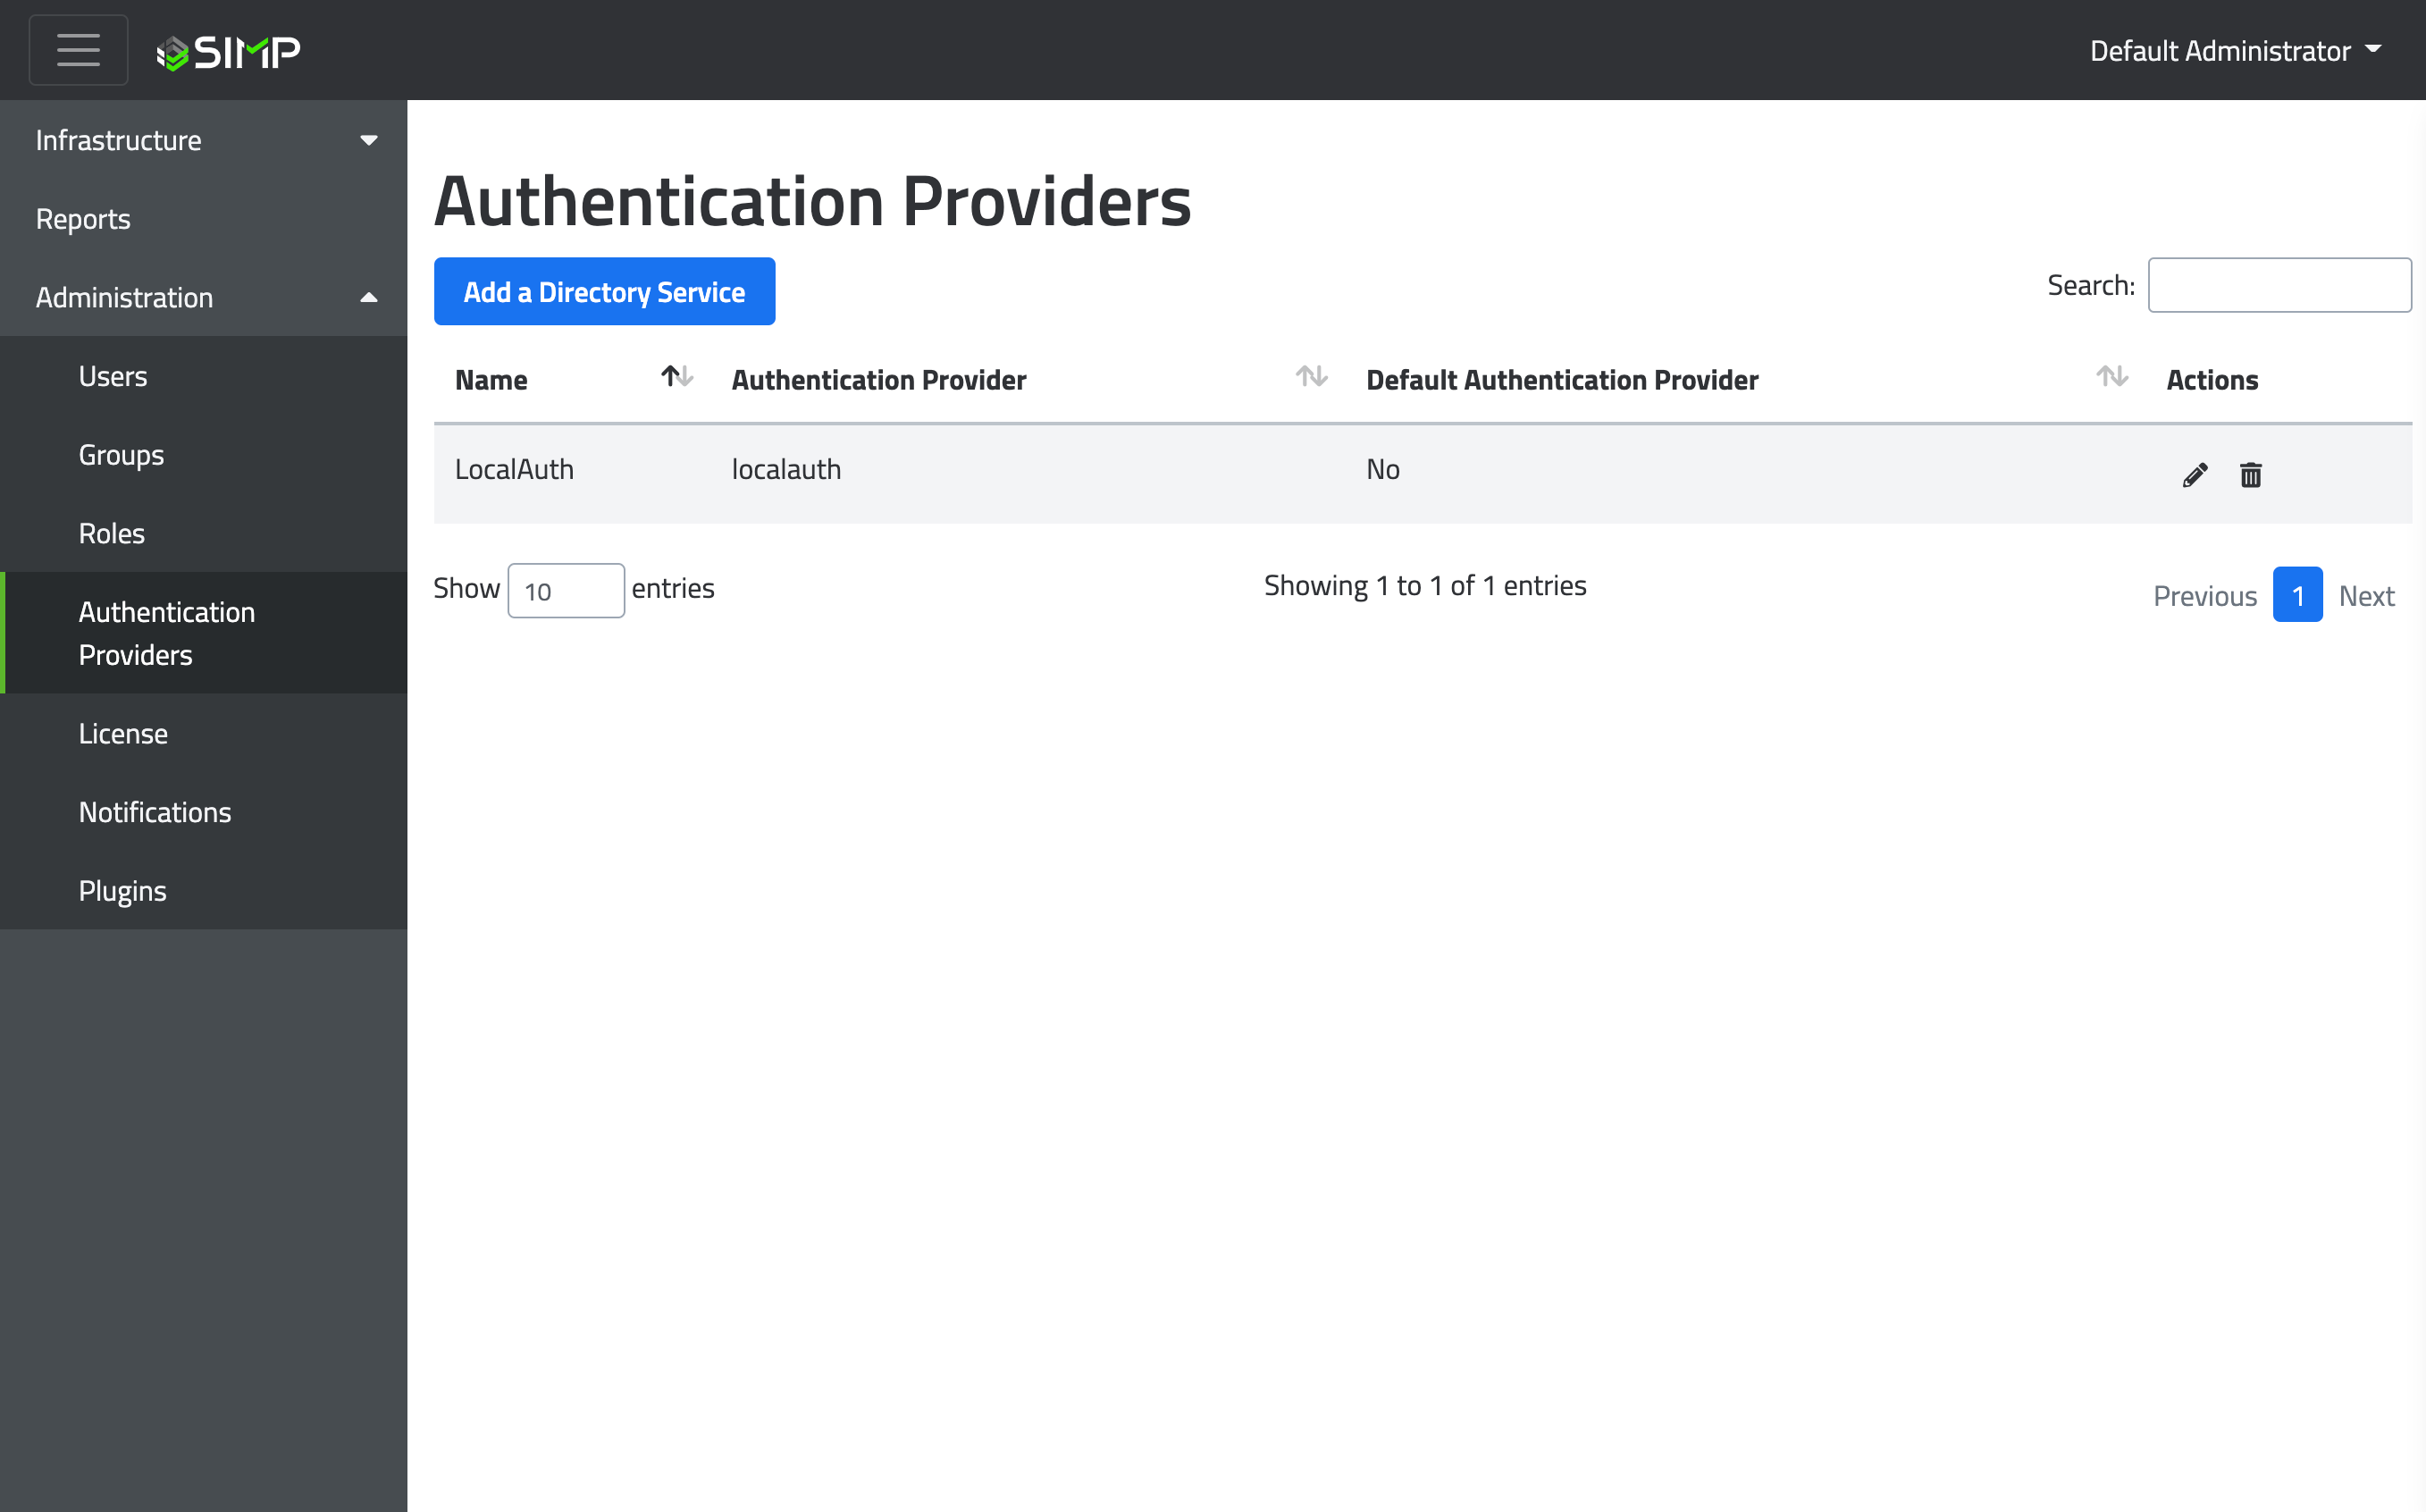
The Authentication Providers page allows administration to create/update providers.
Authentication providers provide the service used to authenticate the credentials for a user login via LDAP, Google Auth, and local auth. Each of the providers are explained in detail under the plugins documentation.
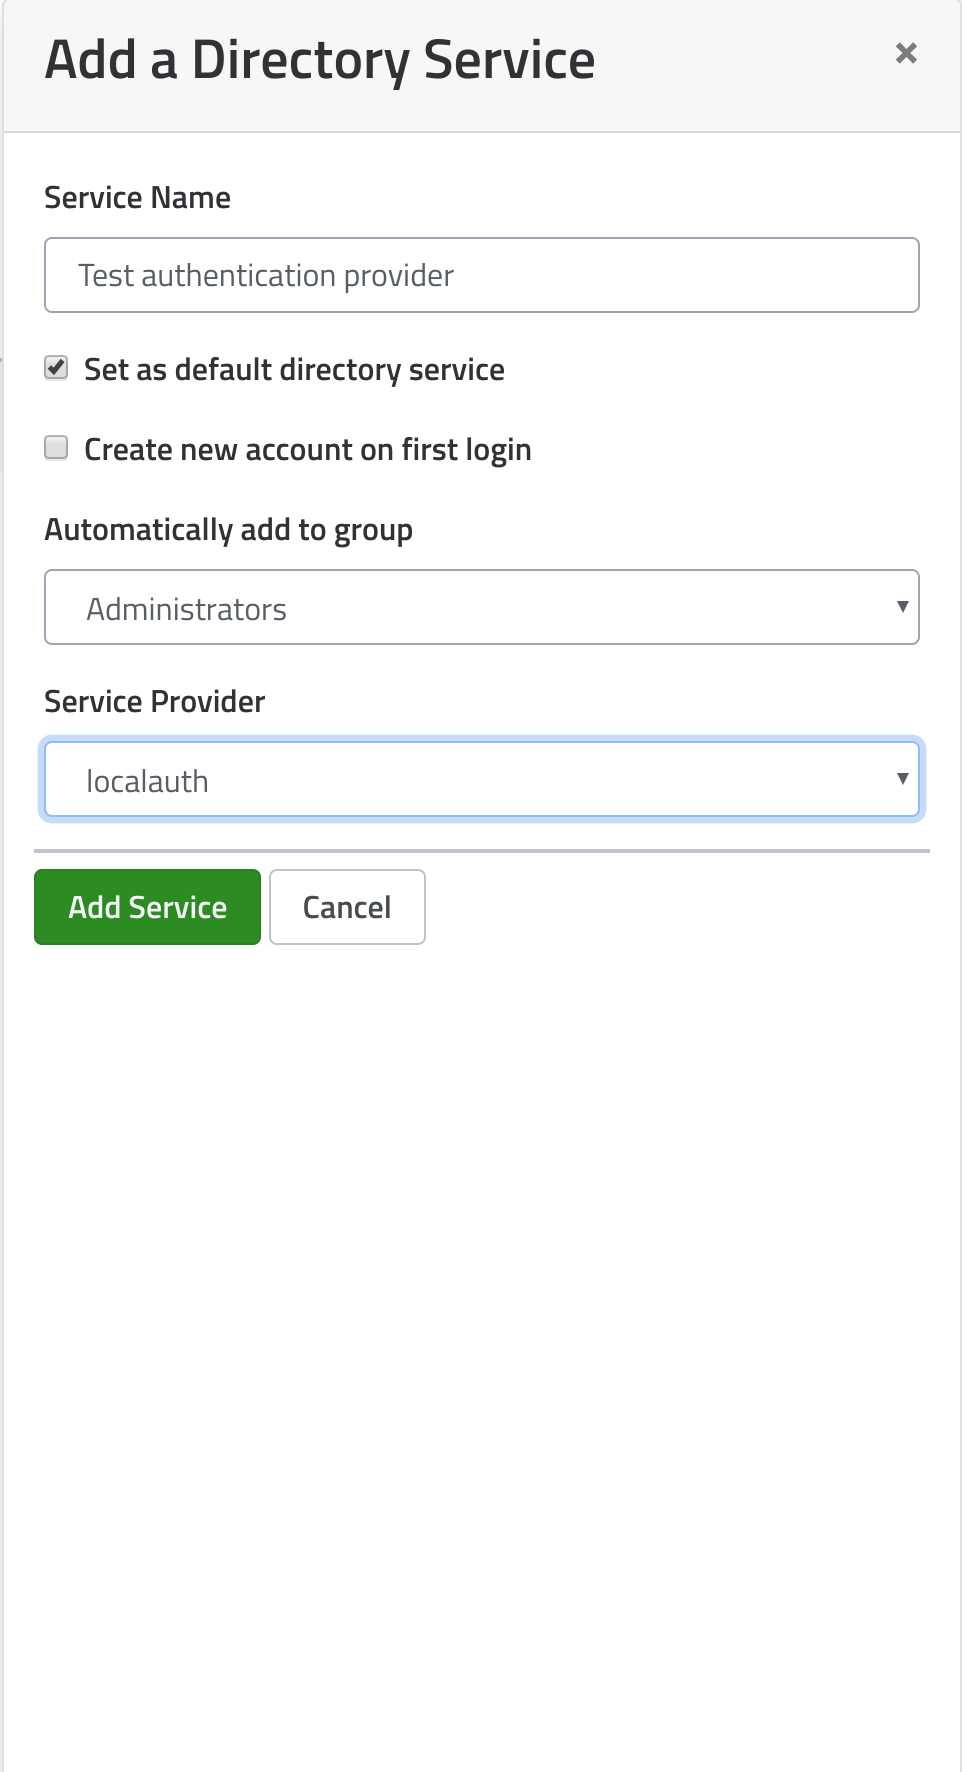
To Create a new provider, clicking the “Add a Directory Service” will bring up the creation drawer. Enter the information as required and click “Add Service”. The process is further explained for each additional provider in the plugins documentation.
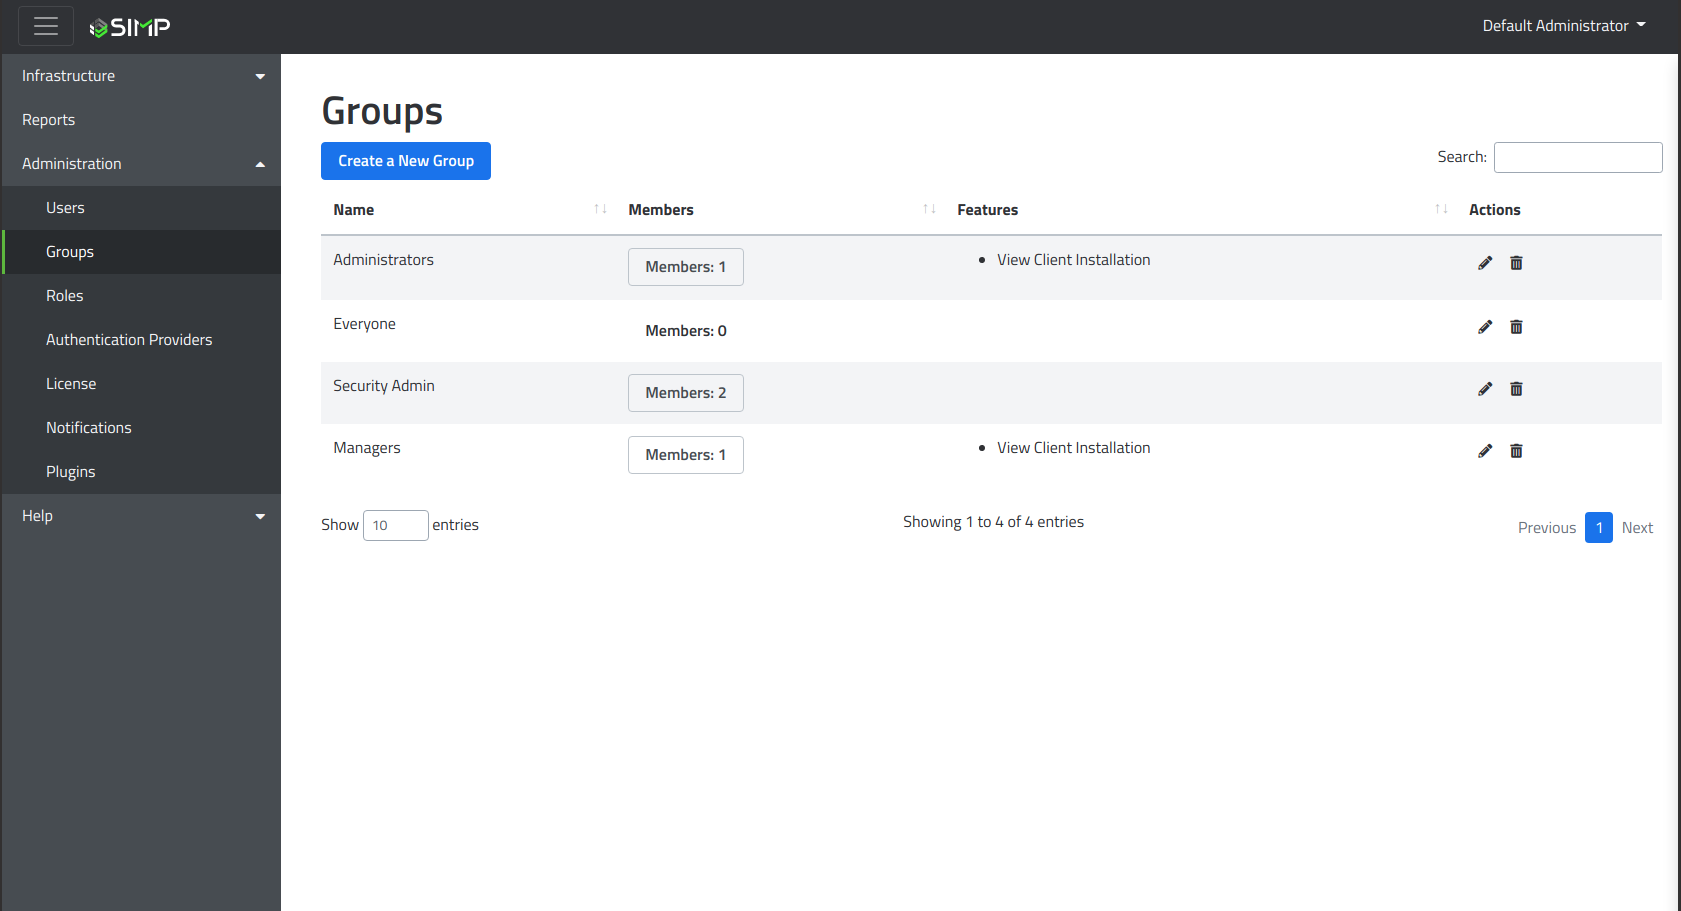
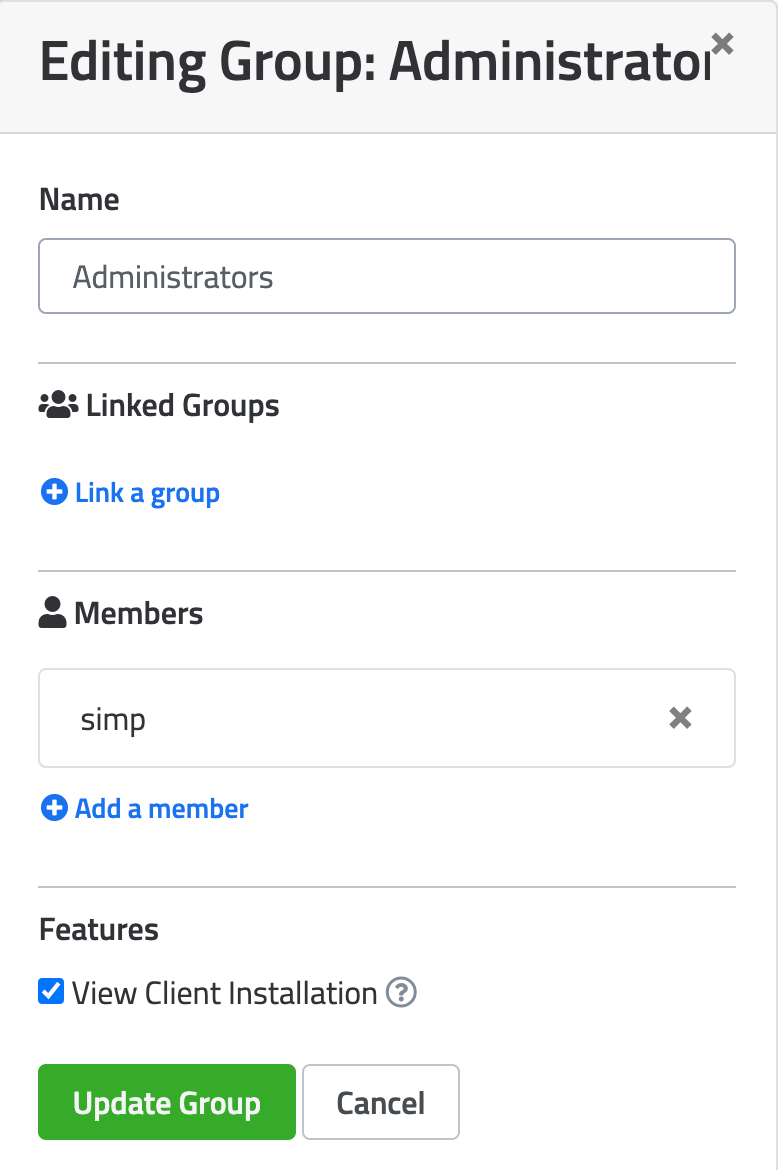
The Groups page allows administration to create/delete groups that the users can be added to. Groups allow permissions to be set for many users at once, instead of having to assign permissions on a per-user basis inside of infrastructure-nodes.
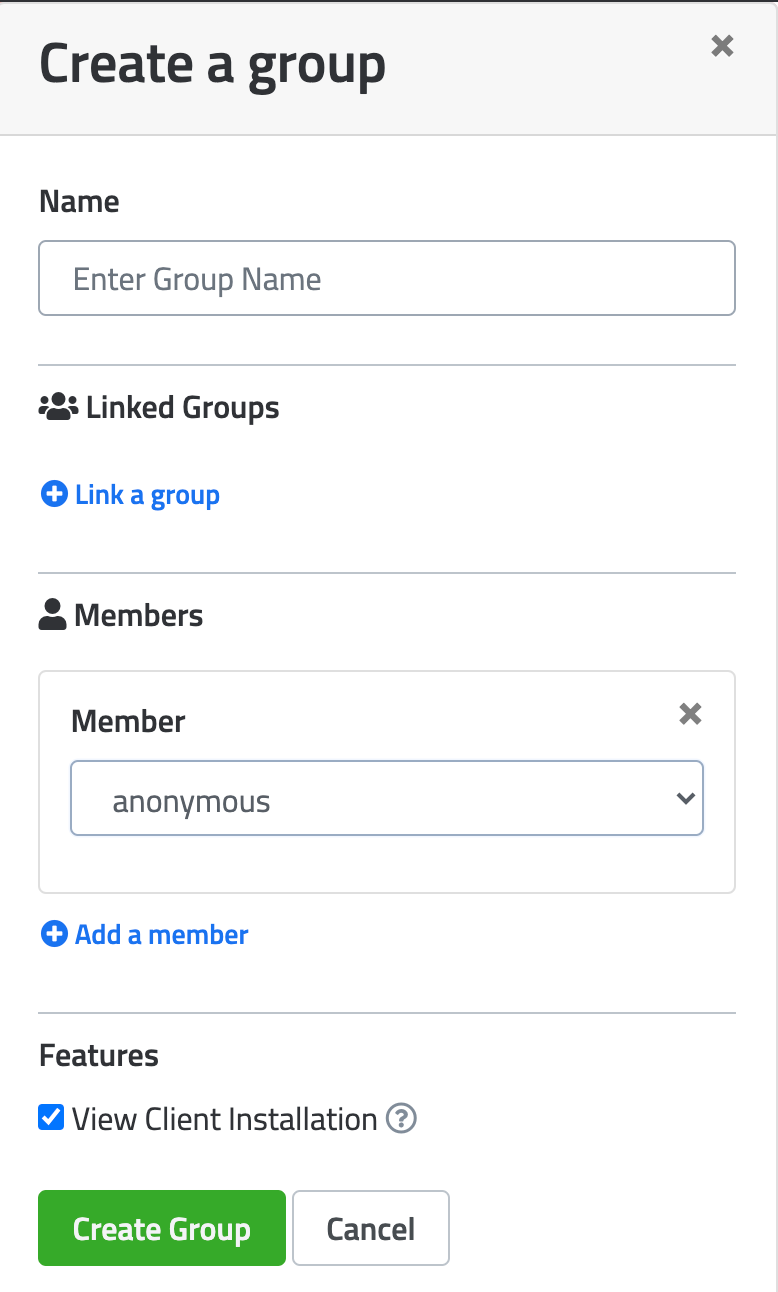
To create a new group, clicking the “Create a New Group” button will bring up the creation drawer. Enter the name of the group and any members you would like (one user can belong to multiple groups).
Features
Groups can have certain UI features throughout the console either granted or restricted. Currently supported UI features are:
- View Client Installation -- When selected, members will have access to the `Infrastructure/Client Installation` page.
The Groups page also allows users to be added/removed from groups themselves.
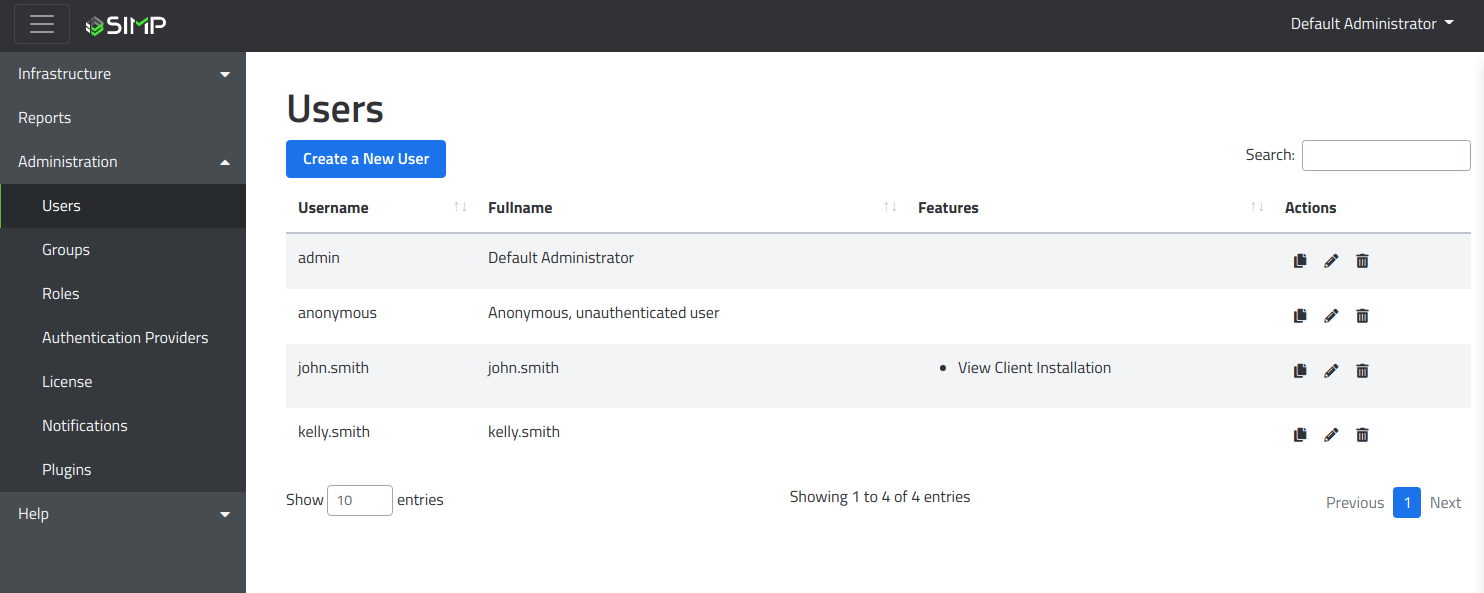
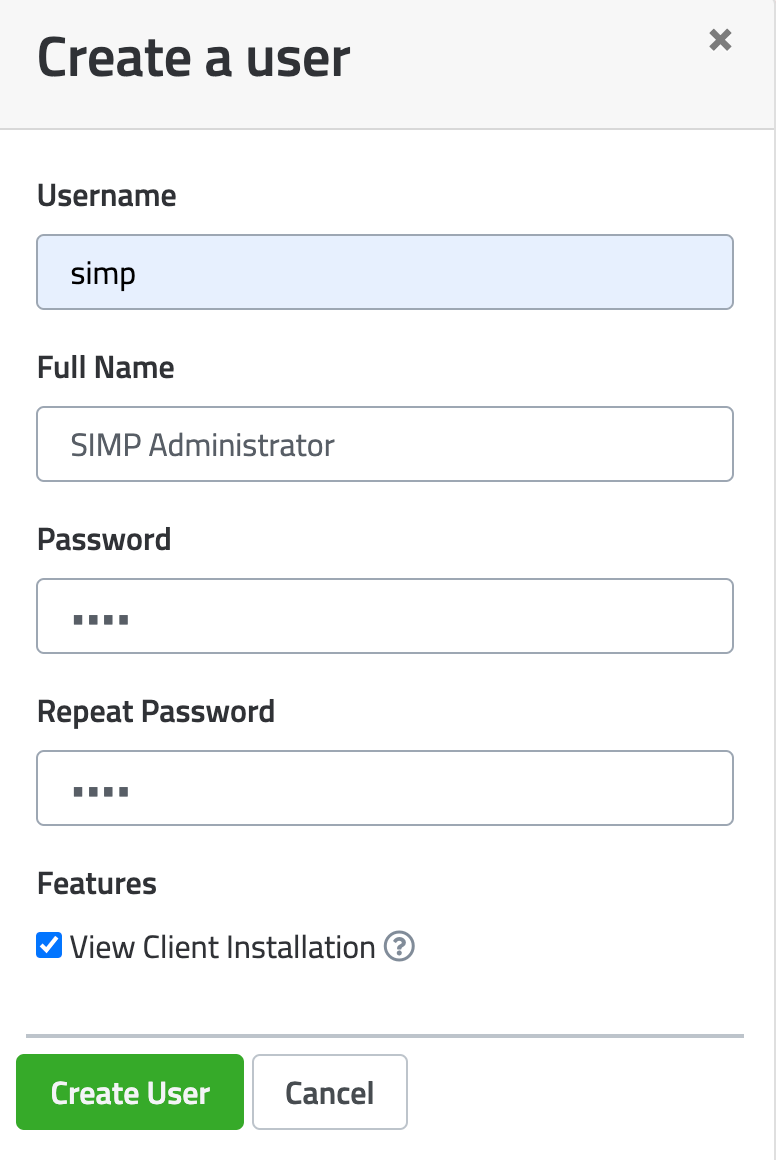
The Users page allows administration to add/remove/manage all the user accounts found within the SIMP Console. To create a new user, clicking the “Create a New User” button will bring up the user creation drawer. Enter the information as needed and click “Create User”.
Features
Users can have certain UI features throughout the console either granted or restricted. Currently supported UI features are:
- View Client Installation -- When selected, this user will have access to the `Infrastructure/Client Installation` page.
This user will now be able to log into the console using their given username and password.
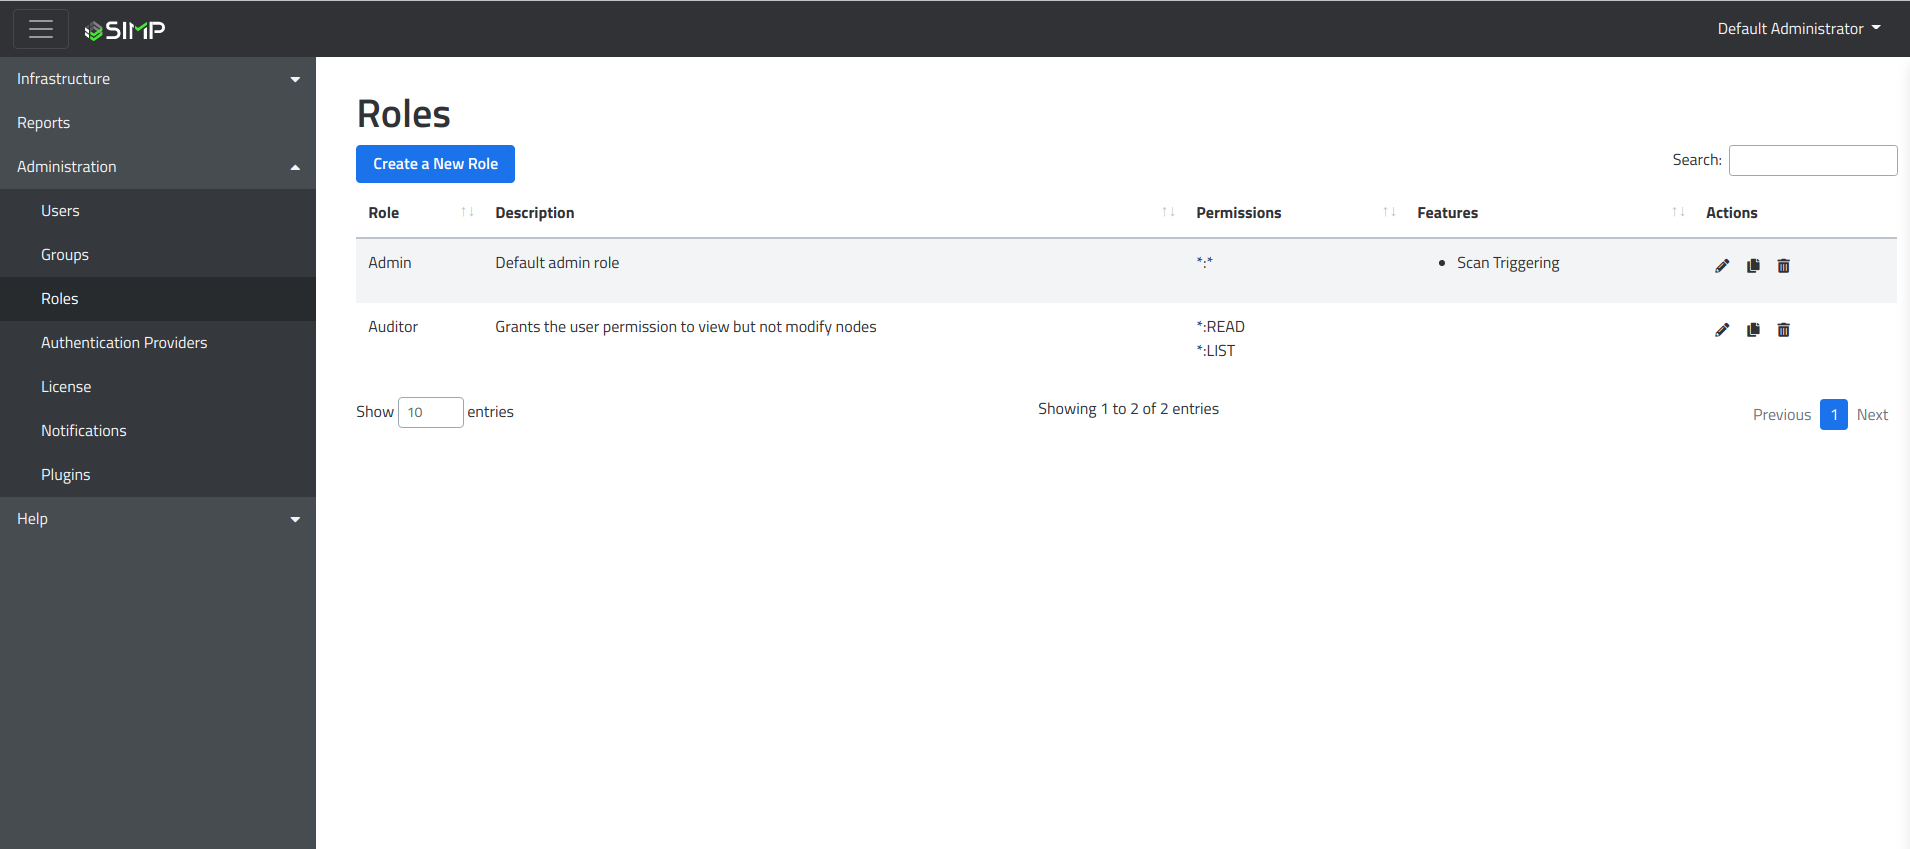
The Roles page allows administration to define specific capabilities for a user/group. For instance, the Admin role has access to all operations by default and would be able to take any action on the console. This includes creating, deleting, updating, and viewing nodes.
To create a new role, clicking the “Create a new Role” button will bring up the creation drawer. Enter the name of the role and configure the object type and desired operations.
Features
Roles can have certain UI features throughout the console either granted or restricted. Currently supported UI features are:
- Scan Triggering -- When assigned this role on a node, users/groups will be able to trigger scans using "Scan Now" or " Schedule Scan"

- Enforcement Triggering -- When assigned this role on a node, users/groups will be able to fix findings using the "Remediate" button.
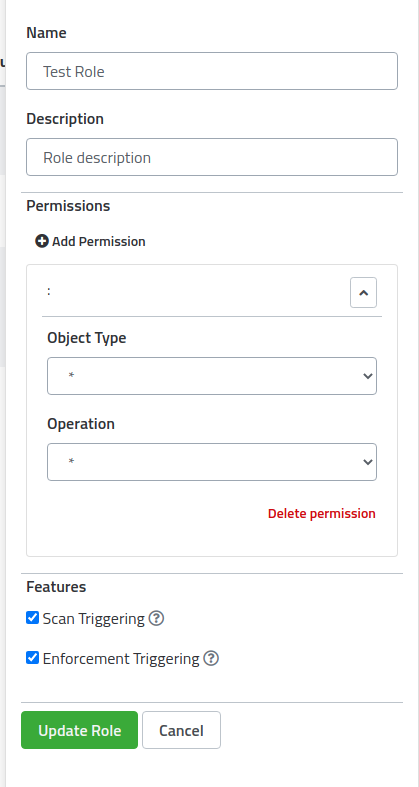
There are six levels of Operations configurable under “Add Permission”, they include:
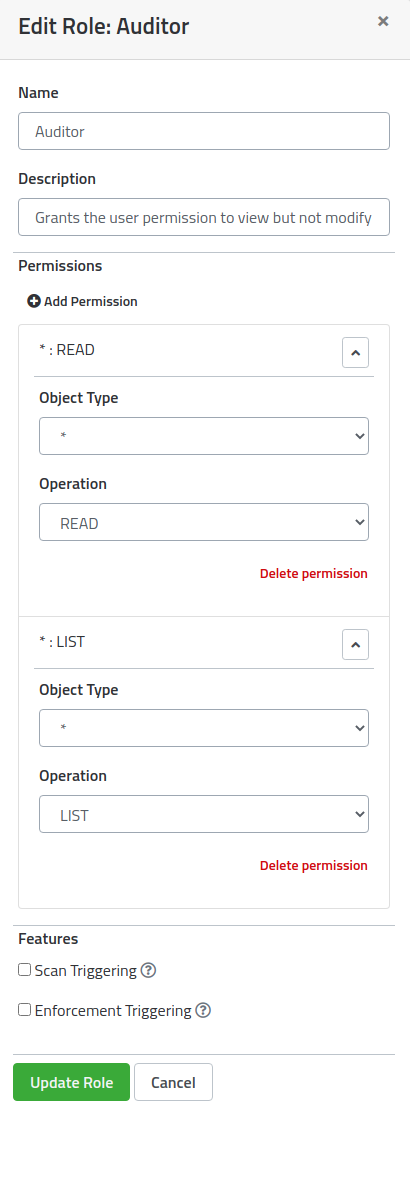
The Roles page also has the ability to update roles by adding/removing permissions using the Edit Role drawer.
Sicura
© copyright 2022